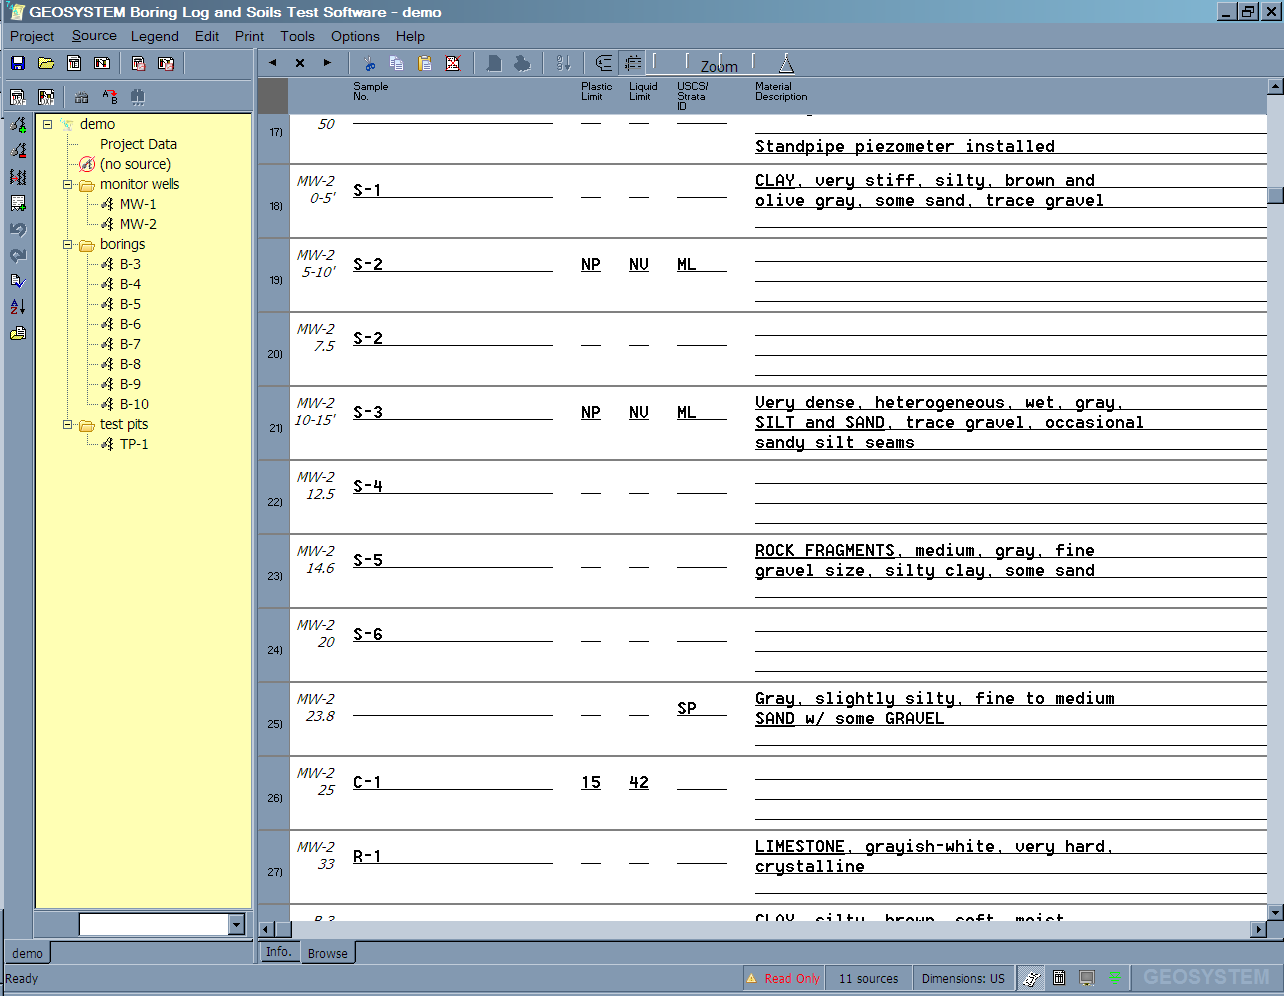
While you're entering data the screen shows just the data for the source you're working on. Once you've entered the data for several sources, you may find that you need to view data from all of your sources at once. As an example, if you have a new soil sample and you'd like to match that sample's properties against the samples you've already entered into the project you'll want to view the sample numbers, Atterberg Limits, USCS or AASHTO classifications and perhaps material descriptions for all of the samples in your project file. LOGDRAFT's browser facility lets you generate and edit lists of data entered into one or more data entry fields, in all of the sources in your project. A list for the example scenario is shown in this figure:
To browse a list of data:
- Open your project.
- Select Project > Browse. This displays the browse data selection dialog.
- As a convenience, the browser facility allows you to save as a file your choices for the data entry fields to be listed: These files don't save any data, just a list of what data entry fields should be browsed. The Current browse lists panel shows the browser files that have already been entered into the system: clicking on a file loads that file's list of data entry fields to browse.
To create a new list of data entry fields to browse, begin by clicking on the New button. If you want to save the list of items, continue by entering a name and description for the new list into the prompts provided. If you don't want to save the list of data entry fields leave the Name and Description prompts blank.
Keep in mind that if you choose to save an list, all you are doing is saving the names of the data entry fields that will be browsed so that you can browse those same fields in the future: You are not saving any actual data.
You can also combine recalling an existing list of data entry fields with creating a new list, which allows you to make modifications to an existing list and save the list under a new name. Do so by first clicking on an existing browse list file, then clicking on the New button and entering a new filename and description. - If you're creating a new list of data entry fields to browse, the next step is choosing the list of fields. The Available fields panel list the data entry fields used by the project: To add a data entry field to the list of fields to be browsed, highlight it then click on the
 button. To remove a field from the list of fields to be browsed, highlight it (in the Fields to browse panel) then click on the
  button.
 - After building the list of data entry fields to be browsed, clicking on the OK button displays a data browsing screen similar to the one shown in this figure.
The data entry options available during browse are pretty much identical to those discussed in this section, with one difference: you cannot cut/copy/paste/insert or delete whole data entry cards. Aside from that, any changes that you make on the browse screen will be reflected in the data at its original location: Changing the data for a depth field, for example, changes that depth in the boring where the data originally came from. - When you're done browsing the data, click on the "X" button at the top of the screen.
Further information: